Friday, August 8, 2014

New Roof!

So after clearing out all of the gutters, and patching up all of the holes and crap, I decided it was a good idea to remove some stuff and cut a couple of 14"x14" holes for the new roof vents. you can measure 15 times.. and the nervousness of cutting holes in your roof somehow cloud your mind.. both of these were placed in the wrong place.. but one I didn't have a choice, it was the only place it could go.


So after I cut out the holes, I removed the TV antenna for two reasons

  1. I don't plan on watching TV while camping. Watching a Movie at night or while traveling is another thing.. but network TV? Why? Stay home if you are going to do that!
  2. I needed the exterior, powered and amplified omni-directional digital antenna for my house... where we DO watch network TV. :)
So off it came, and new steel patch with stainless screws in place, away we go!


Started to wash the roof, and realized I should screw the vents down BEFORE the new roof goes on instead of after like I planned. These are metal vents, hopefully they are a bit more stout than the plastic ones, so we should be good to go. 

I installed the fans in the vents like I did for the 69, I really loved them so I had to re-create them again. I cut the LED wires for the kitchen fan, but Emerson wanted the LEDs on for the bathroom, so the red LEDs can double as a bathroom light, i think... I still haven't wired that one up, so I may cut them when I see it at night or after a camping trip. We'll see.


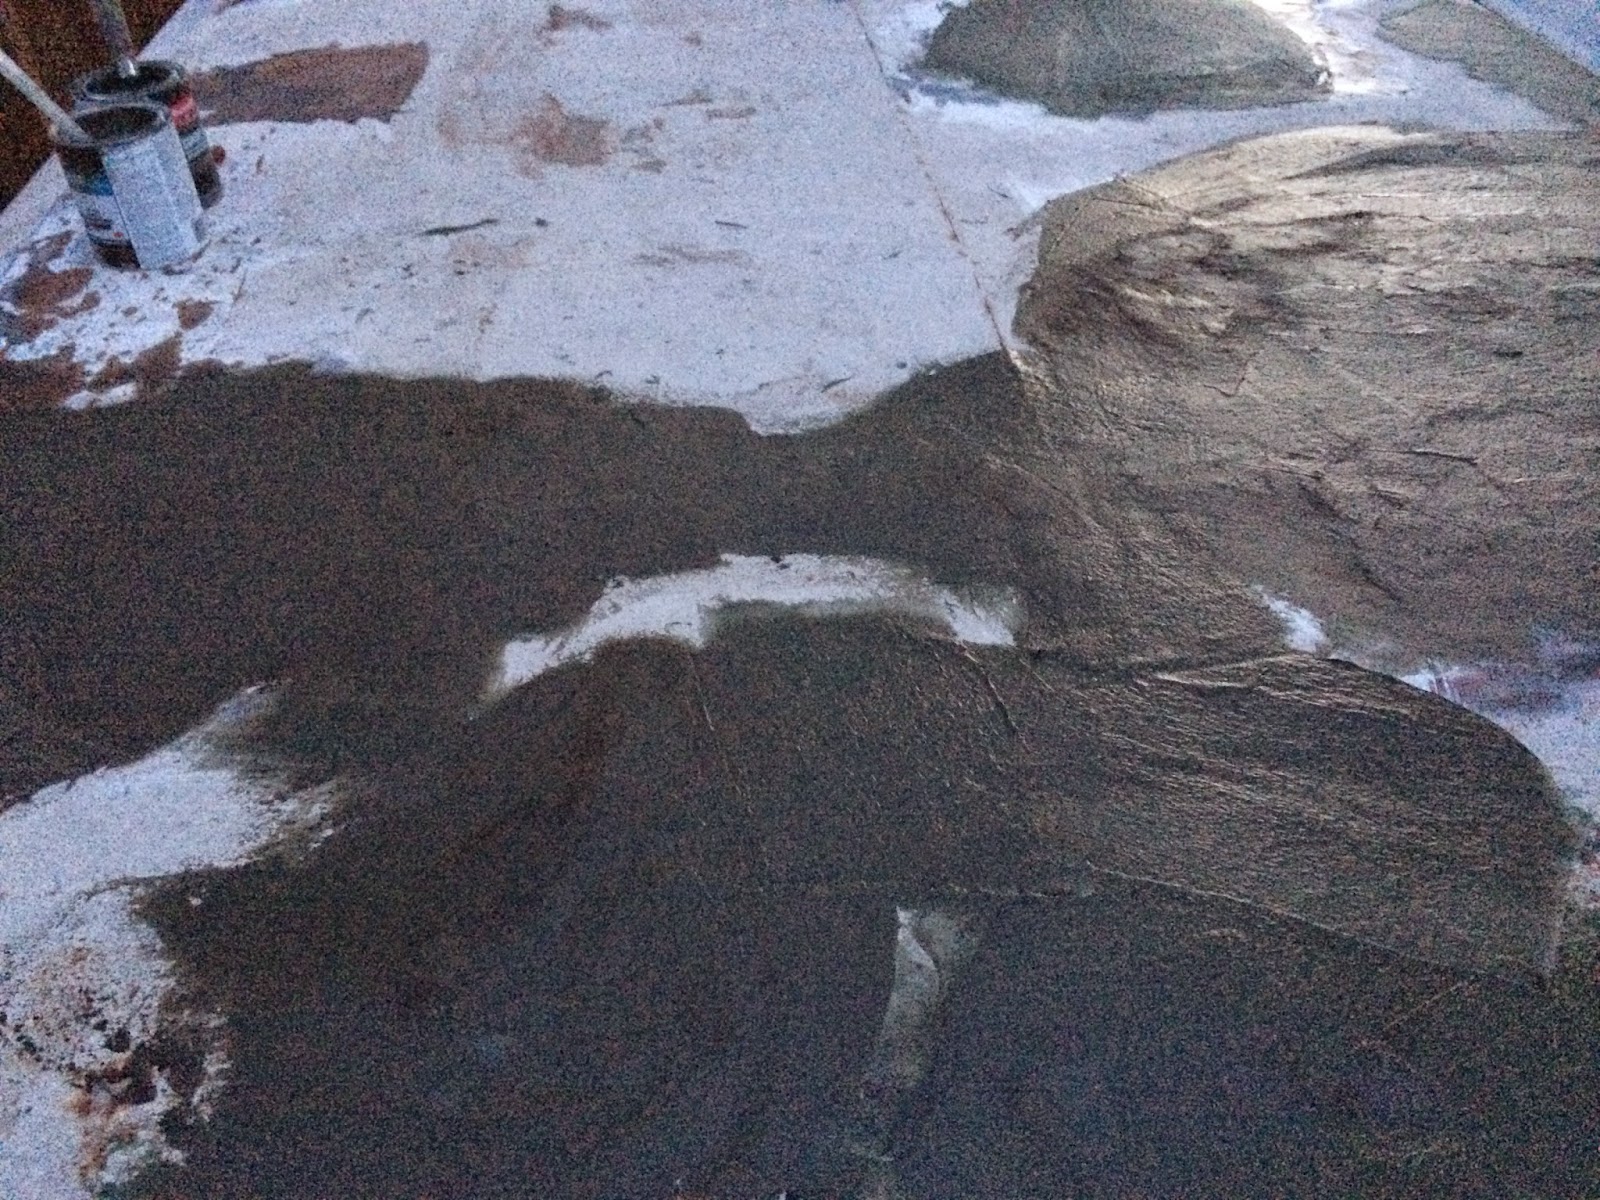
Scrubbed the roof and on went the first coat... thin at first then just dumped it on and smeared it around. Let that sit for 24 hours then put the 2nd coat on and let that sit for another 24 hours before re-installing the lights and calling it DONE!


I also coated the section of the awning that rolls over the vinyl awning fabric for travel and UV protection. I also put a coat on the AC shroud too.

Lights are on and functional. I reduced them to only 5 instead of 7. 3 in the center, and 1 on either side. Removed the ones that were on the down slope. Everything so far is water tight and working well! I drove it to work today to show my co-workers. I had to back it in off the street, too many low-hanging trees the normal loop, plus, nobody ever parks over there.


Wednesday, August 6, 2014

Getting to Work... Roof First This Time!

So on the Camping trip I tore a bit of the roof off that was peeling up (because the rain was coming inside on Wednesday and Thursday) to find it was a failed Fiberglass patch that was curling up. PRetty gnarly looking hole.


So, when I saw that, and noticed these "outlines" almost like a patchwork quilt, it got my curiosity up, so I started to dig. Dig and dig and dig and dig. So I found a bunch more "patches that had failed due to lack of upkeep on the rubber roof one of the previous owners put on. So 5+ years in the hot sun tends to do that...

This is what I found with my roof mining.


This begins a long process of uncovering every rust spot and failed patch until I almost uncovered the entire roof. There goes my hopes of PAINTING this roof, I'm going to have to go with a Roof Coat again. Poo. Oh well, there could be worse things. At least I have the week off, right?

After digging up what I needed to and trying my best to resist digging more I started patching things up and getting it ready for my coats of GOO. 1/2 gallon of Fiber infused roof tar/cement went down first to seal up and protect the exposed patches (Aluminum with Aluminum rivets on Steel roof... not what I wanted to see, but need to keep the water OUT and it should be fine for a few more years)


Next, I added about a gallon of this wonder stuff. It's made by Bondo, but it's a short strand fiberglass infused epoxy resin filler. It's waterproof and worked really well on the 69's roof corners. So over the top of the tar it goes!


Then I cut the cancer out including the gutter... now that was a bit scary. I had to piece two sections together and break the metal to match the gutter for and aft of the section I cut out. Here is the section I cut out, and the new pieces riveted into place.


That was not fun at all... It was filled with the Bondo-Glass and sanded smooth as possible. Does NOT need to be perfect, right? I also ground out the gutters front to back on both sides of the RV to get as much of the Silicone, rubber roof and Bondo OUT of the gutters so they could work properly again. Sanded sanded and sanded some more.

Next up, new rubber roof!